Use-case :- If you want to show some ui in Authoring Template for example user is filling multiple data. Now approver is trying to approve it you want to show him all data with a extra table containing all consolidation.
Example :- We will create a Authoring template with one text field and a dojo grid. You people can extend it to your use-case.
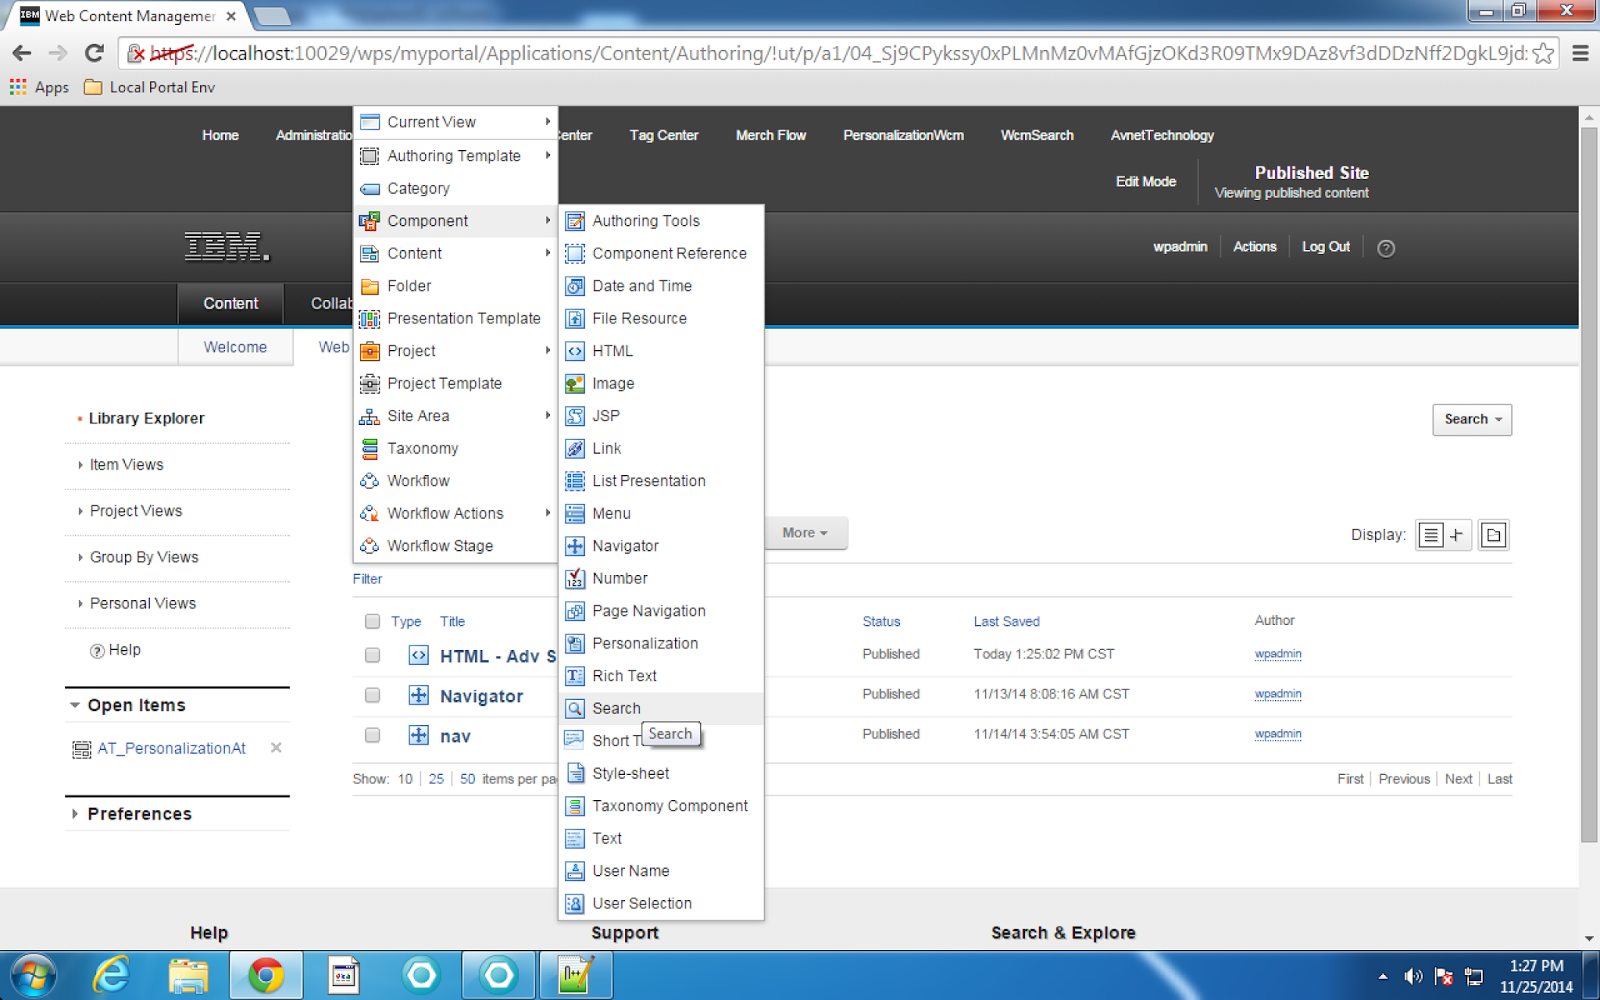
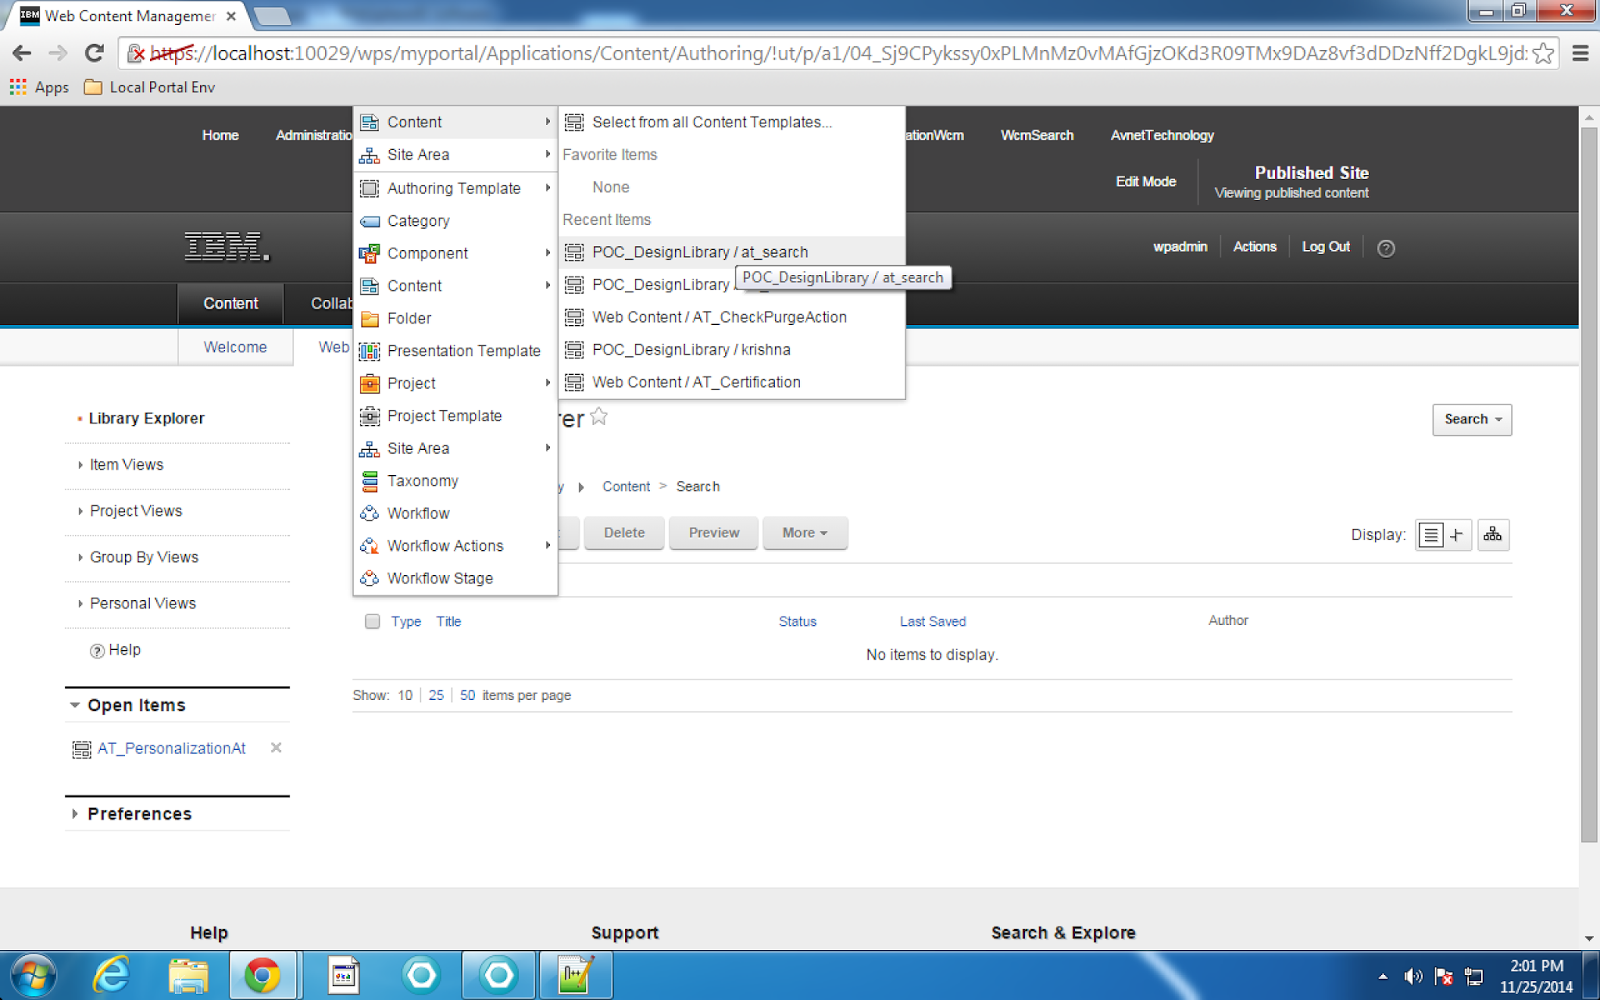
Step 1 :- Create a Authoring template with two text fields. One will contain dojo data grid and other contains a descriptive message.


Step 2 :- Now create jsp and have a dojo grid in it as given below.


Example :- We will create a Authoring template with one text field and a dojo grid. You people can extend it to your use-case.
Step 1 :- Create a Authoring template with two text fields. One will contain dojo data grid and other contains a descriptive message.
Using manage elements create above fields and save it as given below
Step 2 :- Now create jsp and have a dojo grid in it as given below.
<%@page session="false" contentType="text/html" pageEncoding="ISO-8859-1" import="java.util.*,javax.portlet.*,com.poc.customauthoringtemplate.*" %>
<%@ taglib uri="http://java.sun.com/portlet_2_0" prefix="portlet"%>
<%@taglib uri="http://www.ibm.com/xmlns/prod/websphere/portal/v6.1/portlet-client-model" prefix="portlet-client-model" %>
<link rel="stylesheet"
href="/wps/portal_dojo/v1.7/dijit/themes/tundra/tundra.css"%>
<link rel="stylesheet"
href="/wps/portal_dojo/v1.7/dojox/grid/resources/Grid.css"%>
<link rel="stylesheet"
href="wps/portal_dojo/v1.7/dojox/grid/resources/tundraGrid.css"%>
<style type="text/css">
/*Grid need a explicit width/height by default*/
#grid {
width: 43em;
height: 20em;
}
</style>
<script>
dojo.require("dojox.grid.DataGrid");
dojo.require("dojo.data.ItemFileWriteStore");
dojo.ready(function(){
/*set up data store*/
var data = {
identifier: 'id',
items: []
};
var data_list = [
{ col1: "normal", col2: false, col3: 'But are not followed by two hexadecimal', col4: 29.91},
{ col1: "important", col2: false, col3: 'Because a % sign always indicates', col4: 9.33},
{ col1: "important", col2: false, col3: 'Signs can be selectively', col4: 19.34}
];
var rows = 60;
for(var i=0, l=data_list.length; i<rows; i++){
data.items.push(dojo.mixin({ id: i+1 }, data_list[i%l]));
}
var store = new dojo.data.ItemFileWriteStore({data: data});
/*set up layout*/
var layout = [[
{'name': 'Column 1', 'field': 'id', 'width': '100px'},
{'name': 'Column 2', 'field': 'col2', 'width': '100px'},
{'name': 'Column 3', 'field': 'col3', 'width': '200px'},
{'name': 'Column 4', 'field': 'col4', 'width': '150px'}
]];
/*create a new grid:*/
var grid = new dojox.grid.DataGrid({
id: 'grid',
store: store,
structure: layout,
rowSelector: '20px'},
document.createElement('div'));
/*append the new grid to the div*/
dojo.byId("gridDiv").appendChild(grid.domNode);
/*Call startup() to render the grid*/
grid.startup();
});
</script>
<div id="gridDiv"></div>
Step 3 :- Now copy this jsp(CustomAuthoringTemplatePortletView.jsp) and place in three places as given below
1) C:\IBM\WebSphere\wp_profile\installedApps\192Cell\PA_WCM_Authoring_UI.ear\ilwwcm-authoring.war\jsp\html
2) C:\IBM\WebSphere\wp_profile\installedApps\192Cell\PA_WCMLRingPortJSR286.ear\ilwwcm-localrende.war\jsp\html
3) C:\IBM\WebSphere\wp_profile\installedApps\192Cell\wcm.ear\ilwwcm.war\jsp\html
Step4 :- Now go to authoring template default content then text component and click on the icon beside CustomAt
Place the jsp path in it
click ok and then close it
Step 5 :- Now try to create a content with this AT.
Dojo grid will be displayed in the Authoring UI
Note :- You show your customized UI content in this way. Depending of requirement you can hide this grid during draft stage and show it when it moves to next stage. In this case grid will show consolidated data from all fields.